
Photographing garden birds through a window

Why the window is worth mastering
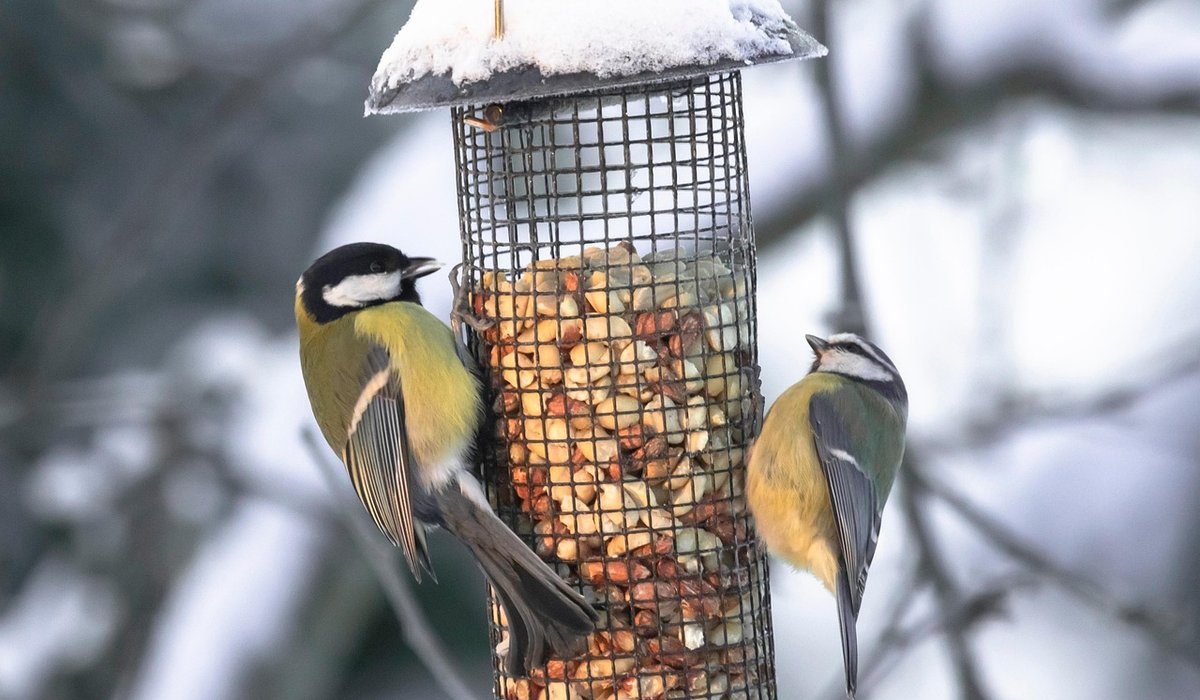
Most of us do not have a hide at the bottom of the garden, and few of us fancy sitting in a frosty shrub at six in the morning in January. The kitchen window, the back bedroom, the conservatory — these are where British garden birdwatching actually happens for most people. And with a bit of care, the glass between you and the feeders stops being an obstacle and starts being an advantage. You stay warm, the birds stay relaxed, and a blue tit on the fat balls is a foot away rather than twenty.
The catch is that photographing through a window introduces problems that a windowless shot does not have: reflections, softness from dirty glass, colour casts, and the temptation to use flash that bounces straight back at you. Fix those and the results can genuinely rival anything taken from a hide.
Start with the glass itself
Everything else is wasted effort if the pane is grubby. A smear of last week's rain, a dried-on dog nose, or a film of kitchen grease will soften the whole image and lower contrast in a way no amount of editing will rescue.
- Clean both sides of the pane with warm water and a tiny drop of washing-up liquid, then buff dry with a microfibre cloth. Inside matters most, but outside counts too.
- Work in daylight so you can see smears. A window that looks clean at night will show every streak at f/8.
- If you shoot through the same window often, clean it weekly through the winter and keep a dedicated cloth nearby.
- Open the window a crack if the birds will tolerate it — even two inches of open gap removes the glass entirely and costs you nothing but a draught. Warming the room first helps, since a blast of warm air out of an open window can spook nervous birds for a minute or two.
Kill the reflections before you touch the camera
Reflections are the single biggest cause of ruined window shots. At night, a lit room turns the glass into a mirror. In the day, a bright sky behind you can be worse.
The simplest solution is to shoot parallel to the pane — the nearer your lens is to the glass, the less of the room it can see. Push the lens hood (or the front element, carefully) to within a few centimetres of the glass. If your lens has a rubber hood, so much the better; it blocks stray light and prevents the barrel from touching the window.
Then darken the room. Turn off interior lights, close curtains behind you, and if you are shooting in daylight, drape a dark cloth or a black jumper over the back of the camera and your head. A dark hoodie pulled up around the lens works wonders. It looks ridiculous and nobody will see you.
Never use flash. It fires straight into the glass and comes back as a white blob, scares the birds, and produces the flat, ugly light that makes garden bird photography look like a police record. Use available light, and accept that you will sometimes need a high ISO.
Support, shutter speed, and the settings that work
Handholding at a window is asking for trouble, because you cannot brace properly and your arms will drift. A beanbag on the sill is the answer — cheap, stable, and it moulds to any lens. Fill an old sock with rice or dried lentils if you do not want to buy one; a bag of long-grain rice works perfectly well.
For settings, start here:
- Shutter speed of 1/1000 sec or faster. Small birds twitch constantly, and a beak can move several millimetres between frames.
- Aperture around f/5.6 to f/8. Wide open is tempting in dull light, but you need enough depth of field to keep the eye and the shoulder sharp.
- Auto ISO with a ceiling of 3200 or 6400. Grain is far easier to live with than blur, and modern sensors handle it well.
- Continuous autofocus with a single-point or small-zone mode aimed at the eye. Bird detection modes are excellent now, but a feeder is a busy scene and the camera will sometimes lock onto the fat ball instead.
- Shoot in bursts of three or four frames, not one.
- Turn off any vibration reduction or image stabilisation if you are firmly on a beanbag — some lenses hunt slightly when they think they are hand-held. Trial it both ways; results differ between models.
Arrange better perches and a better background
A photograph of a bird on a plastic feeder is a record shot. A photograph of the same bird on a mossy branch is a picture. The good news is that you control the set.
Push a sturdy stick, a length of weathered branch, or an old broom handle into the ground a foot or two from the feeder, angled so it sits against a soft, distant background — a hedge, a dark shed, anything except a bright sky or a neighbour's wheelie bin. Birds will queue on it while they wait their turn. A second perch on the other side gives you options as the light moves.
Rub a little suet or a smear of peanut butter into the bark to encourage use, and give it a week before expecting regular customers. Position the perch so the light falls across it rather than behind it, which means an east-facing window is best in the morning and a west-facing one in the afternoon. Watch where the sun actually lands at nine o'clock before you commit to a spot.
Finally, be patient and be still. Movement behind the glass is what sends birds scattering, so settle yourself, set the camera up, and let the garden forget you are there. The best window photographs come from the days when you barely press the shutter at all.

Joeby Ragpa
This template is so awesome. I didn’t expect so many features inside. E-commerce pages are very useful, you can launch your online store in few seconds. I will rate 5 stars.
ReplyAlexander Samokhin
This template is so awesome. I didn’t expect so many features inside. E-commerce pages are very useful, you can launch your online store in few seconds. I will rate 5 stars.
ReplyChris Root
This template is so awesome. I didn’t expect so many features inside. E-commerce pages are very useful, you can launch your online store in few seconds. I will rate 5 stars.
Reply